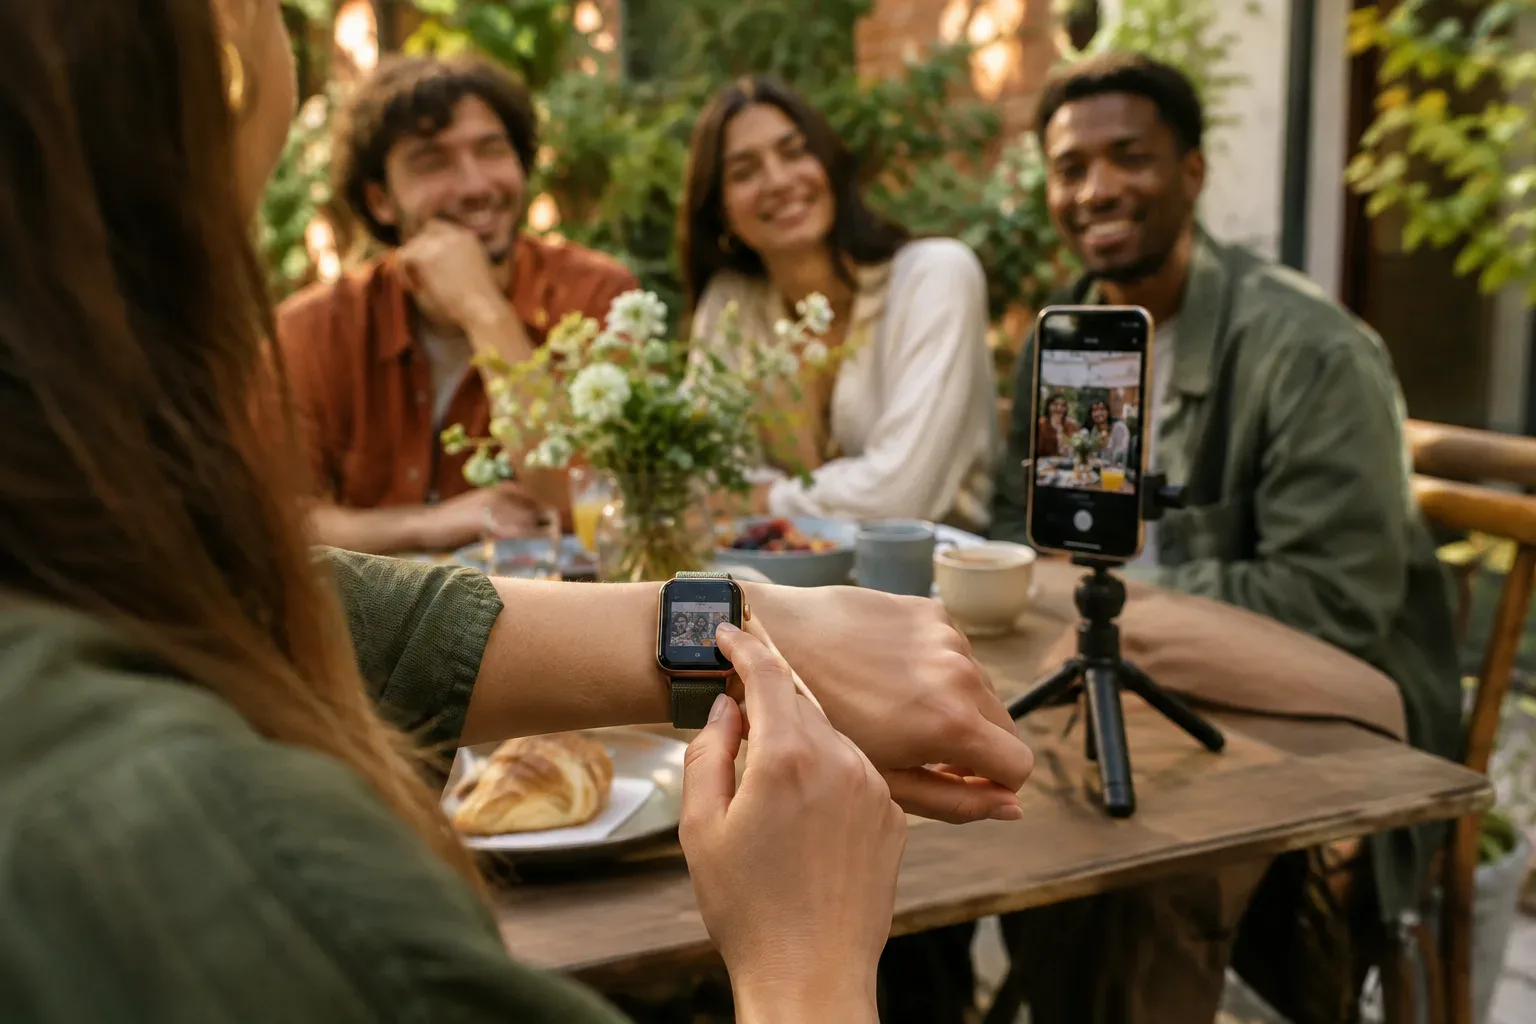
If you’ve placed your iPhone on a shelf or tripod, you don’t need to walk back to it before every shot: with the Camera Remote app on Apple Watch, you can view the camera feed on your watch and take a photo remotely. It can be useful for group photos, selfies or situations where your iPhone isn’t within reach. To use it, your watch needs to be within Bluetooth range of your iPhone; Apple’s guide gives this as approximately 10 metres.
What do you need for remote photography?
The feature requires a connection between your iPhone and Apple Watch. Position your iPhone so that the scene you want fits in the camera view, then open the Camera app on it or launch the Camera Remote app on your watch. If a related suggestion appears on your watch face when you open the iPhone camera, you can also tap it to launch the remote control.
The image shown on your watch helps you check the composition, so you can see whether everyone is in the group photo or whether the phone is positioned correctly. The connection has a limited range, so if your watch can’t reach your iPhone, move the two closer together. You can read more about the connection options for iPhone and Apple Watch in our guide to Bluetooth and Wi-Fi connections.
How to take a photo, step by step
- Open the Camera Remote app on your Apple Watch.
- Check the viewfinder image on your watch, then arrange your iPhone or the scene you want to photograph.
- If necessary, turn the Digital Crown to adjust the zoom. You can also adjust the exposure by tapping the area you want on the viewfinder image.
- Tap the shutter button. By default, a three-second timer starts, giving you time to get into position after pressing the button.
You can turn off the three-second delay in the app’s additional settings. This is handy if you don’t want to wait, or if the phone is already steady and the photo can be taken straight away. The timer can also help prevent the iPhone from moving when you trigger the shutter.
Settings: camera, flash, Live Photo and timer
In the additional settings, you can choose between the front and rear cameras, and manage the flash, Live Photo and timer. The options may depend on the device and system version; for example, Live Photo is available only on iPhone models that support it.
It’s worth checking which camera is selected before taking the photo. The rear camera may work well for group photos or scenes composed from farther away, while the front camera can make it easier to include yourself in the frame. These aren’t rules that apply to every situation: the desired framing and the position of the phone determine which camera is more useful.
Adjust the flash to suit the lighting conditions, too. If you’re not sure how the photo will turn out, take a test shot and then review it on your watch or iPhone. The interface and available controls can change, so you may not see exactly the same options on your device as on another model or software version.
Recording video and viewing your photos
To start recording video, press and hold the app’s shutter button. When you’re ready to finish recording, tap the stop button. This control can be useful if you’ve placed your iPhone somewhere that makes it difficult to start or stop recording comfortably.
Photos and videos are saved to the Photos app on your iPhone. You can also review your recordings on Apple Watch, so you don’t necessarily have to go straight to your iPhone to check the shot. If you’re recording an important moment, check afterwards on your phone’s screen that the photo or video you wanted was actually captured.
What to check if it doesn’t work as expected
First, check that you’re using the Camera Remote app and that your iPhone is nearby. Apple gives the Bluetooth range as approximately 10 metres, but the actual connection can also depend on your surroundings. If the viewfinder image doesn’t appear, move the two devices closer together and check that Camera is open on your iPhone.
It’s important to note that Camera Remote is not the same as the “Control Nearby Devices” accessibility feature. The latter offers general iPhone control from your watch, but to take a photo remotely, look for the Camera Remote app. You can find more details about the difference between the two features in Apple’s guide.
If you can’t connect your watch to your iPhone at all, check the pairing status before troubleshooting camera control. For help, see our guide to pairing Apple Watch with iPhone. For detailed steps on remote camera control, see Apple’s Camera Remote guide.
In brief: when should you use it?
Apple Watch camera control gives you a simple remote shutter and viewfinder: position your phone, check the image on your watch, then tap the shutter button. It can be especially useful when you’re in the photo yourself, taking a group shot or don’t want to move your iPhone after setting up the composition. Keep in mind the range, the default three-second timer and the fact that some settings and features may vary by device.