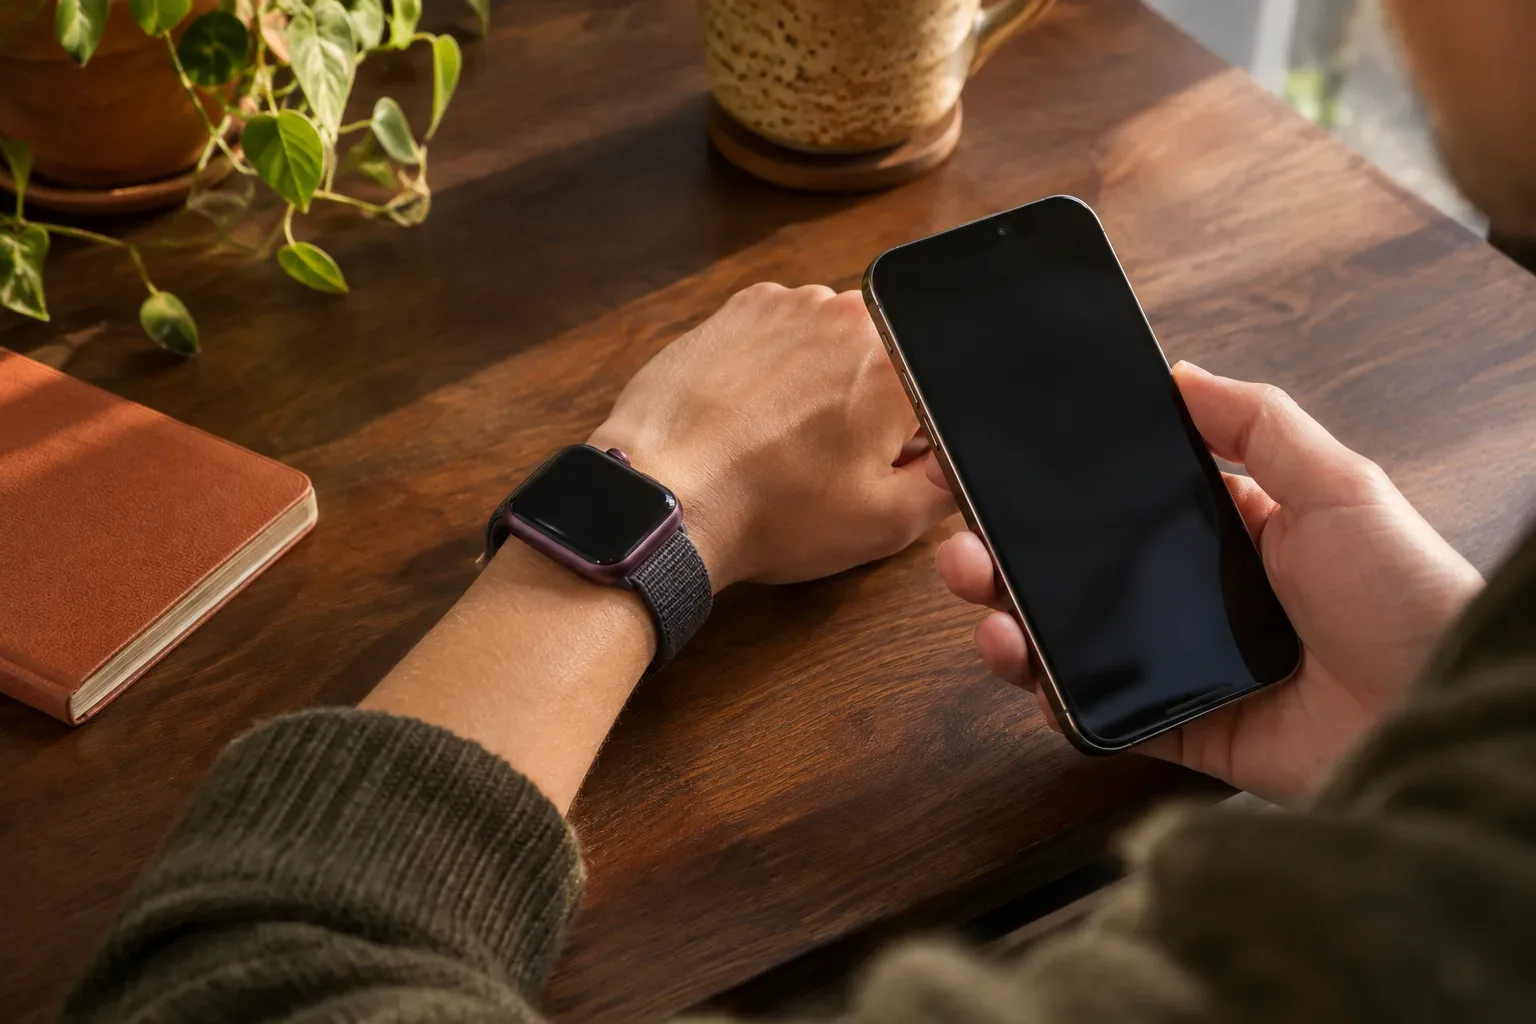
Before handing in your Apple Watch for service, focus on two things: make sure you have a recent backup of your data, and handle pairing, Find My and Activation Lock appropriately for the service. What you need to do may also depend on whether the “Ready for Repair or Trade In” feature is available for the repair in question. This checklist will help you prepare while keeping your account details safe.
1. Make a recent backup
Apple Watch automatically backs up to its paired iPhone when the two devices are near each other. When you unpair from the iPhone, the watch creates a new backup. Apple recommends an iCloud backup or an encrypted computer backup to preserve health and fitness data. For details about how backups work and their requirements, see the Apple Watch backup guide.
Even if you don’t plan to unpair, check that your iPhone backup is up to date. Don’t assume that all the data you can see on your watch will necessarily be available if you restore it later: manage backups and data retention according to Apple’s guide. Erasing the watch without unpairing it does not create a backup.
2. Ask whether the “Ready for Repair” feature is available
According to Apple’s guide published on September 15, 2026, the “Ready for Repair or Trade In” feature may be available for certain repairs on devices running software version 27 or later. If the repair is eligible, the feature may let Find My remain on during servicing. For Apple Watch, you can also complete the setup on the web or on another device. Feature availability depends on the device and the repair; you can read more in Apple’s guide to getting ready for a repair.
Before erasing or unpairing your watch, ask the service provider whether you should use this option for the specific repair. If they offer it, follow the steps they provide. If it isn’t available or doesn’t apply to this repair, Apple’s traditional preparation guide describes unpairing the watch from your iPhone.
3. If needed, unpair your watch from your iPhone
If Apple or the service provider asks you to unpair the watch the traditional way, keep your iPhone and watch close to each other. In the Watch app on your iPhone, open My Watch → All Watches, tap the info button next to your watch, then select Unpair Apple Watch. The detailed steps are described in Apple’s guide to unpairing and erasing.
This process erases the watch, restores it to factory settings and removes Activation Lock. If you have a GPS + Cellular model, you’ll also need to decide what to do with your mobile plan. If you plan to pair the same watch again later, keeping the plan may be the right choice; otherwise, follow your mobile carrier’s steps to cancel the plan. Our guide to identifying your Apple Watch model can help you check which type of watch you have.
4. If you don’t have your paired iPhone with you
If your iPhone isn’t available, you can start erasing the watch by going to Settings → General → Reset → Erase All Content and Settings on the watch. However, this does not create a backup and does not remove Activation Lock by itself. So don’t treat it as a full substitute for unpairing from your iPhone: check with the service provider about any additional steps required in your situation.
If your watch isn’t responding, Apple’s service preparation guide says to remove the cards associated with Apple Pay from your account and, if you use Apple Cash, turn it off on your Apple Account web page. You only need to do these things if they apply to you. Don’t try account settings if you don’t understand the consequences; ask Apple or the service provider for guidance.
5. Don’t hand over your password or passcode
Never share your Apple Account password, your Apple Watch passcode or other account security information with anyone. Apple says that neither Apple nor an Apple Authorised Service Provider can ask you for these details. If a technician needs access to your device to provide software support, Apple recommends that you stay present while they have access. The specific procedure is detailed on Apple’s page about getting ready for service.
A practical example: if someone asks for your password by message or phone, don’t send it or read it out. Instead, contact the service provider using the official contact details you already know, and ask what secure procedure they recommend.
6. A short checklist for the day you hand it in
- Check that your iPhone backup is up to date and that the way your data is backed up follows Apple’s guide.
- Ask whether the “Ready for Repair or Trade In” feature can be used for the specific repair.
- If it won’t be used, check with the service provider about unpairing from your iPhone and what to do with your cellular plan, if your watch has one.
- Don’t hand over your Apple Account password or watch passcode; remove the watch band too, as Apple’s preparation guide recommends.
- If you’re not sure exactly which model or version you have, identify the watch first, then let the service provider know.
If you’re still unsure after taking these steps, ask for an assessment and discuss the necessary privacy steps before the repair begins. The repair that can be carried out and its outcome depend on the model, material and damage; these can only be assessed after inspection. For more information, visit the Watchklinika Apple Watch care page.
Sources and further information
- Back up your Apple Watch - Apple Support (IE)
- How to use Ready for Repair or Trade In - Apple Support
- Prepare your Apple Watch for a service appointment - Apple Support (IE)
- Unpair and erase your Apple Watch – Apple Support (AU)
- https://support.apple.com/en-az/102573
- https://support.apple.com/en-ae/102868
- https://support.apple.com/en-mide/guide/icloud/mmdc23b125f6/icloud
- https://support.apple.com/en-mide/guide/icloud/mmfc0eeddd/icloud
- https://support.apple.com/en-au/guide/iphone/ipha94b7686e/26/ios/26
- https://support.apple.com/guide/watch/if-you-forget-your-passcode-apdbebcd1d3b/watchos
- https://support.apple.com/en-nz/102573
- https://support.apple.com/en-eg/guide/watch/apd4ad3571d9/watchos
- https://support.apple.com/en-in/108372
- https://support.apple.com/en-ie/102542
- https://support.apple.com/en-ca/108358